Every day, people watch over one billion hours of videos on YouTube. Every minute, more than 500 hours of video are uploaded to YouTube—which means that every second, one hour of video is being uploaded! As the number of videos uploaded grow, the number of viewers are growing as well. Out of all YouTube views, 60% are by non-native English speakers, and this audience will continue to grow.
As the diversity of YouTube’s (and generally most of social media) audience grow, more content creators are looking at how they can make their content more inclusive. One of the easiest ways is to include subtitles in their videos. 80% of viewers surveyed say they will watch a video to completion when there are subtitles. Not only will subtitles increase the watchability of your videos, it also helps to reach out to the deaf and hard-of-hearing community. We’ve gone through extensively why it is key that you add subtitles to your videos.
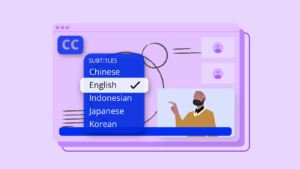
Apart from simply adding captions in the language spoken in the videos, YouTubers are also starting to add subtitles in different languages to reach a wider audience, especially growing markets such as Asia.
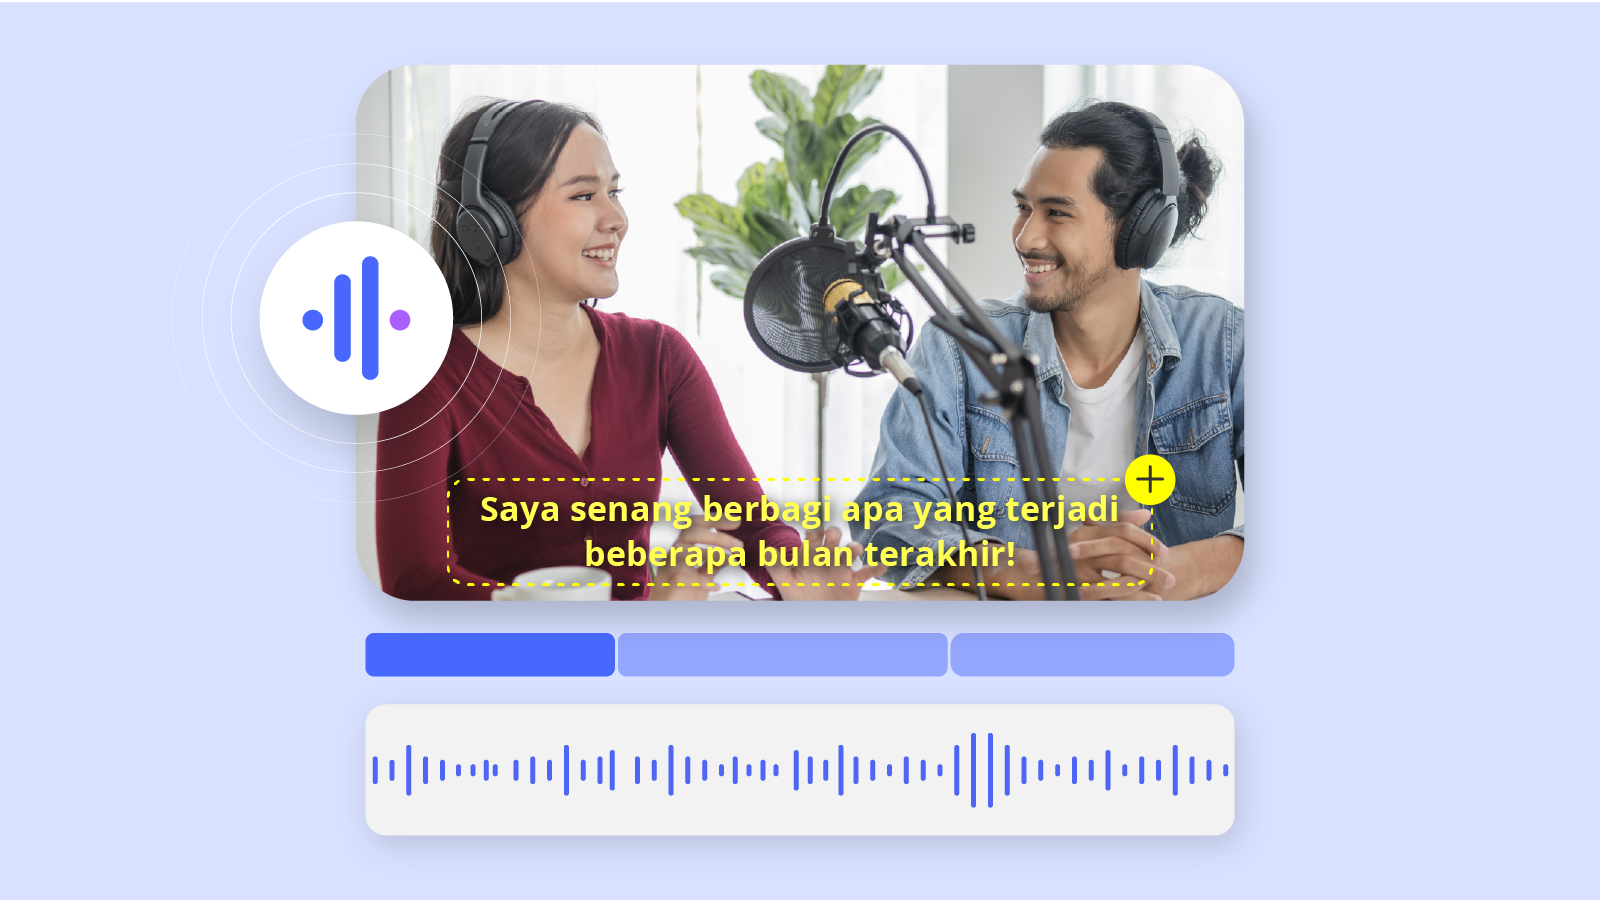
Creating subtitles for your videos can be a tedious and time-consuming task, especially if you don’t already have a script to follow. Luckily for you, Auris AI‘s software can automatically generate subtitles for you, FOR FREE. Read on to find out how you can utilise Auris AI’s user-friendly functions and unique capabilities to add subtitles to your videos!
1: Setting Up An Account
Enter your name, email address and choose a strong password. You should receive an activation code shortly after. Then, log in to Auris AI with the account you have created.
2: Starting Your First Project
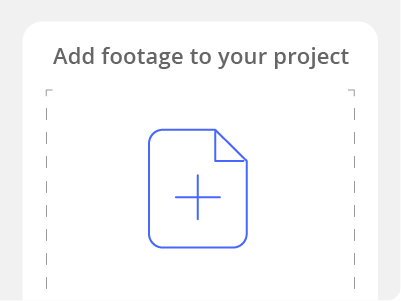
At the dashboard, start by creating your first project. Once you have created your first project, click on the ‘+’ icon to upload your video file from your desktop.
Lastly, select the spoken language for the automated transcription. Click “upload” when the page has loaded. You should see a “Success!” popup screen.
Wait a few minutes for Auris AI to complete your transcription. Click on your uploaded video when the page has loaded.
3: Proofreading Auto-Generated Transcripts
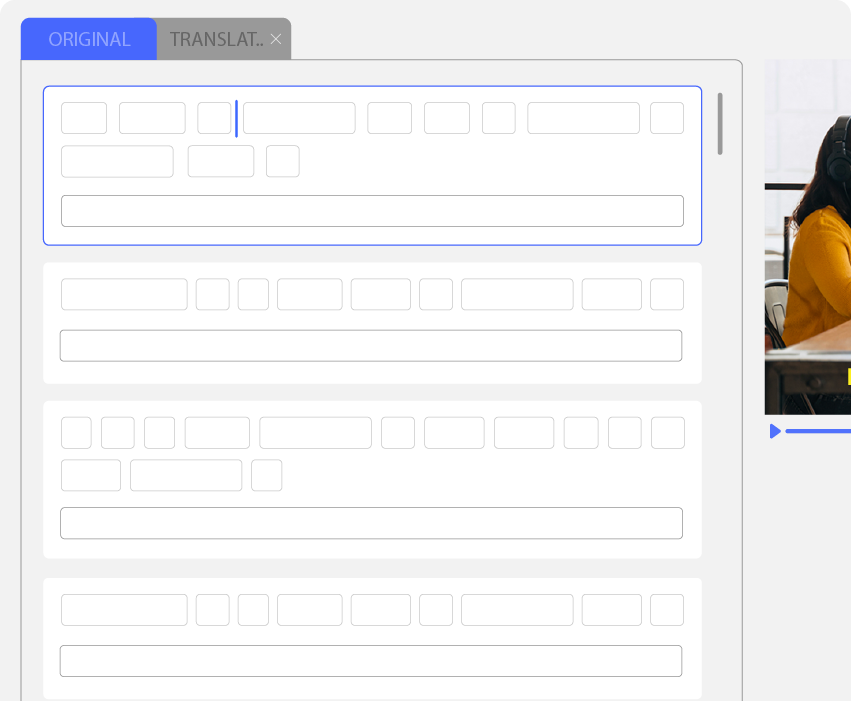
At this point, Auris would have generated the subtitles for you. All you have to do is go through them and make sure they are accurate and in the structure you desire.
If the timing of the subtitles and voice do not match, you can edit directly at the sound wave section at the bottom. Over here, simply drag or cut the sound wave accordingly.
Once your captioning is completed, you may translate it to another language by clicking on the language tab above.
Select your desired new language. A new translation file will be created for you instantly!
Go through the translation to make sure it is accurate and up to your standard.
4: Beautifying Your Captions

Finally, click on “Subtitles” from the blue tool bar on the left and choose your font, colours, size and position. Make it easy for your viewers to read your captions. Once all that is completed, either download the video or export it as other formats like .srt or text.
Now that you have learnt how to add subtitles to videos, that’s all you need to know about Auris.
Good luck with your video editing!
P.S. If you would like to watch a tutorial demo instead, click here!


